How to Sell Your Own Home
(Without an Agent)
5 Simple Steps with Video
TABLE OF CONTENTS (skip ahead)
TABLE OF CONTENTS (expand)
by Homepie | Published Aug 30, 2021 | 10 Minutes
For millions of people each year, the home selling process is confusing, convoluted, and sometimes just plain mysterious.
That’s why so many hire a real estate agent.
But that comes with a hefty price tag – upwards of 6% of the sale price which can easily equate to tens of thousands.
Think selling your own home is too difficult? Think again. In this article, we’re going to cover all the basic steps to sell a home yourself.
Step #1: Prep Your Home For Buyers
At this point, you’ve made the decision that you’re ready to sell your home by owner. But that doesn’t mean your house is ready.
So here are 3 ways to prepare your home for prospective buyers:
- Clean it
- Fix it
- Stage it
Similar to when you sell a car, you’ll want to make sure that your home looks and smells clean. Not only the interior but even the yard. It is also smart to make basic repairs, like putting in that new light bulb in the hallway fixture, or touching up the paint on your eaves.
The better the house looks, the more comfortable a buyer will be when they view the home.
Now that your place is cleaned and fixed up, you’ll need to make a decision if you want to show the house with or without your current furniture.
In some cases, especially if you’re selling a vacant home, or a place that was recently renovated, it may make sense to rent furniture to help the home really stand out. This is called staging, and there are companies that specialize in this service.
At a minimum, you may want to consider rearranging or removing some items and decluttering.
Step #2: Promote Your Home
You’ll need to get the word out that your house is for sale. There are two types of posting every home needs, and I’m not talking just social media.
Post a For Sale sign
The first one is a professional-looking For Sale sign posted in your front yard.
Don’t waste your time with one of those flimsy For Sale by Owner signs from your local hardware store. This is a real turn off to buyers.
The yard sign is a statement. Not only that your home is for sale, but that you are a serious seller who knows what they’re doing.
Remember, every time an agent lists a home, this is one of those basic steps they follow and there’s a good reason why. Put in the same minimal effort and you’ll be successful too. I’ll share a great place where you can order one of those signs in just a minute.
Post your home online
The second thing you’ll need to do is post it online.
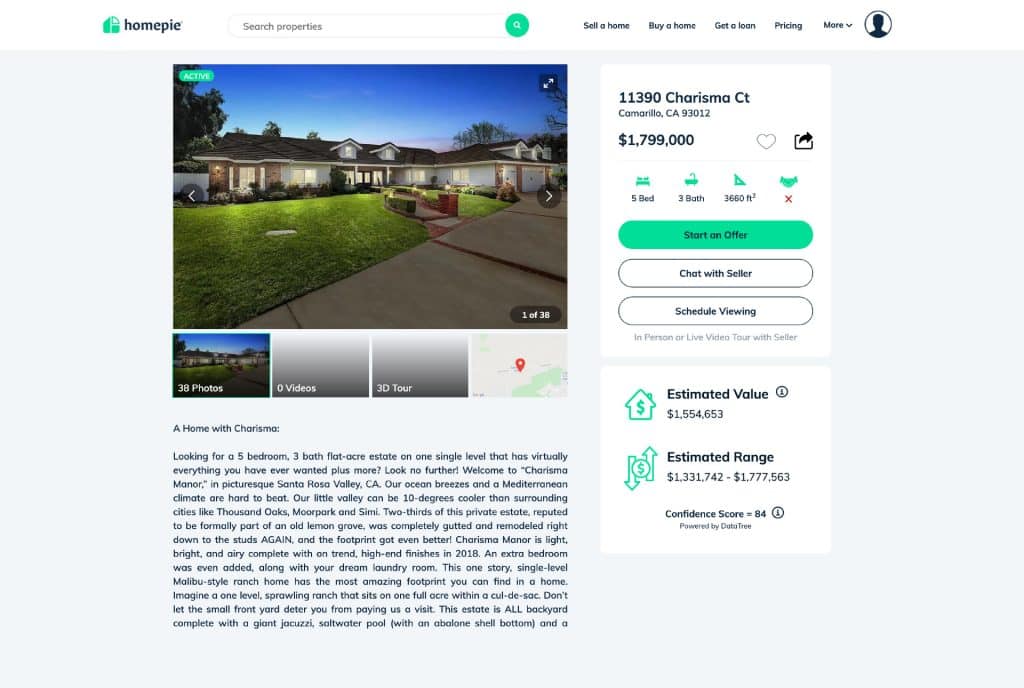
That means creating a really attractive listing with professional photos and a well-written description that highlights top features and upgrades.
Your goal is to attract as many qualified buyers as fast as possible to see your home. So the question is, with so many real estate websites out there, what’s the best way to get the most exposure for your home?
Fortunately there’s a way to upload your home information just once and have it automatically distributed to hundreds of other websites.
When you list your home on the MLS database – that’s the Multiple Listing Service – it will do just that.
And the best site to make that happen is homepie.com.
When you list your home on Homepie, you have the ability to add it to the MLS and promote it to all major real estate sites. You also have the option to order the Yard Sign, photography, basically everything you need to sell effectively.
Professional photos matter
By the way, don’t think that you can skip having professional photos taken.
This can make the difference between a potential buyer just browsing right by your home online, or stopping to look and really consider.
Professional photos have been proven to attract 16 times more buyers, sell 32% faster, and help increase the sales price from three to eleven thousand dollars! That’s a nice return on investment!
If budget allows, you might want to also consider video or a 3D tour which will help your home stand out in a competitive market.
Pricing your home
A critical component as you prepare to list your home is pricing strategy.
Pricing it too low can attract multiple offers, but some feel that you may lose out on maximizing your sales price. On the other hand, pricing it too high can cause the house to sit on the market.
There is an art to pricing your home properly based on market conditions. If you need help determining your list price, Homepie helps make it easy by offering a Professional Pricing Review.
This service is similar to what a Realtor® would provide you with if you were to consider listing with an agent. (It’s an analysis of what’s happening in your local real estate market including details on recent comparable home sales near yours.)
It’s really affordable and I would recommend ordering one of their marketing packages that includes this.
Step #3: Show Your Home
Now that your home is on the market, buyers or their agents will contact you to schedule a time to see your house.
Some may prefer a virtual tour using Facetime or Zoom but most will want to visit in person. This visit is called a showing or viewing. Homepie’s free viewing scheduler makes it simple for both buyers and sellers to coordinate a time and method.
The showing stage is where things get exciting. You receive your first offer, then another, and maybe another. This is called a multiple offer situation, which can be a bit challenging if you don’t have a way to organize and compare the offers. In a traditional process, it can also be difficult and inefficient for buyers to submit offers because there’s a lot of paperwork involved.
However, when you have buyers submit offers through Homepie, the offer/negotiation process is a dream.
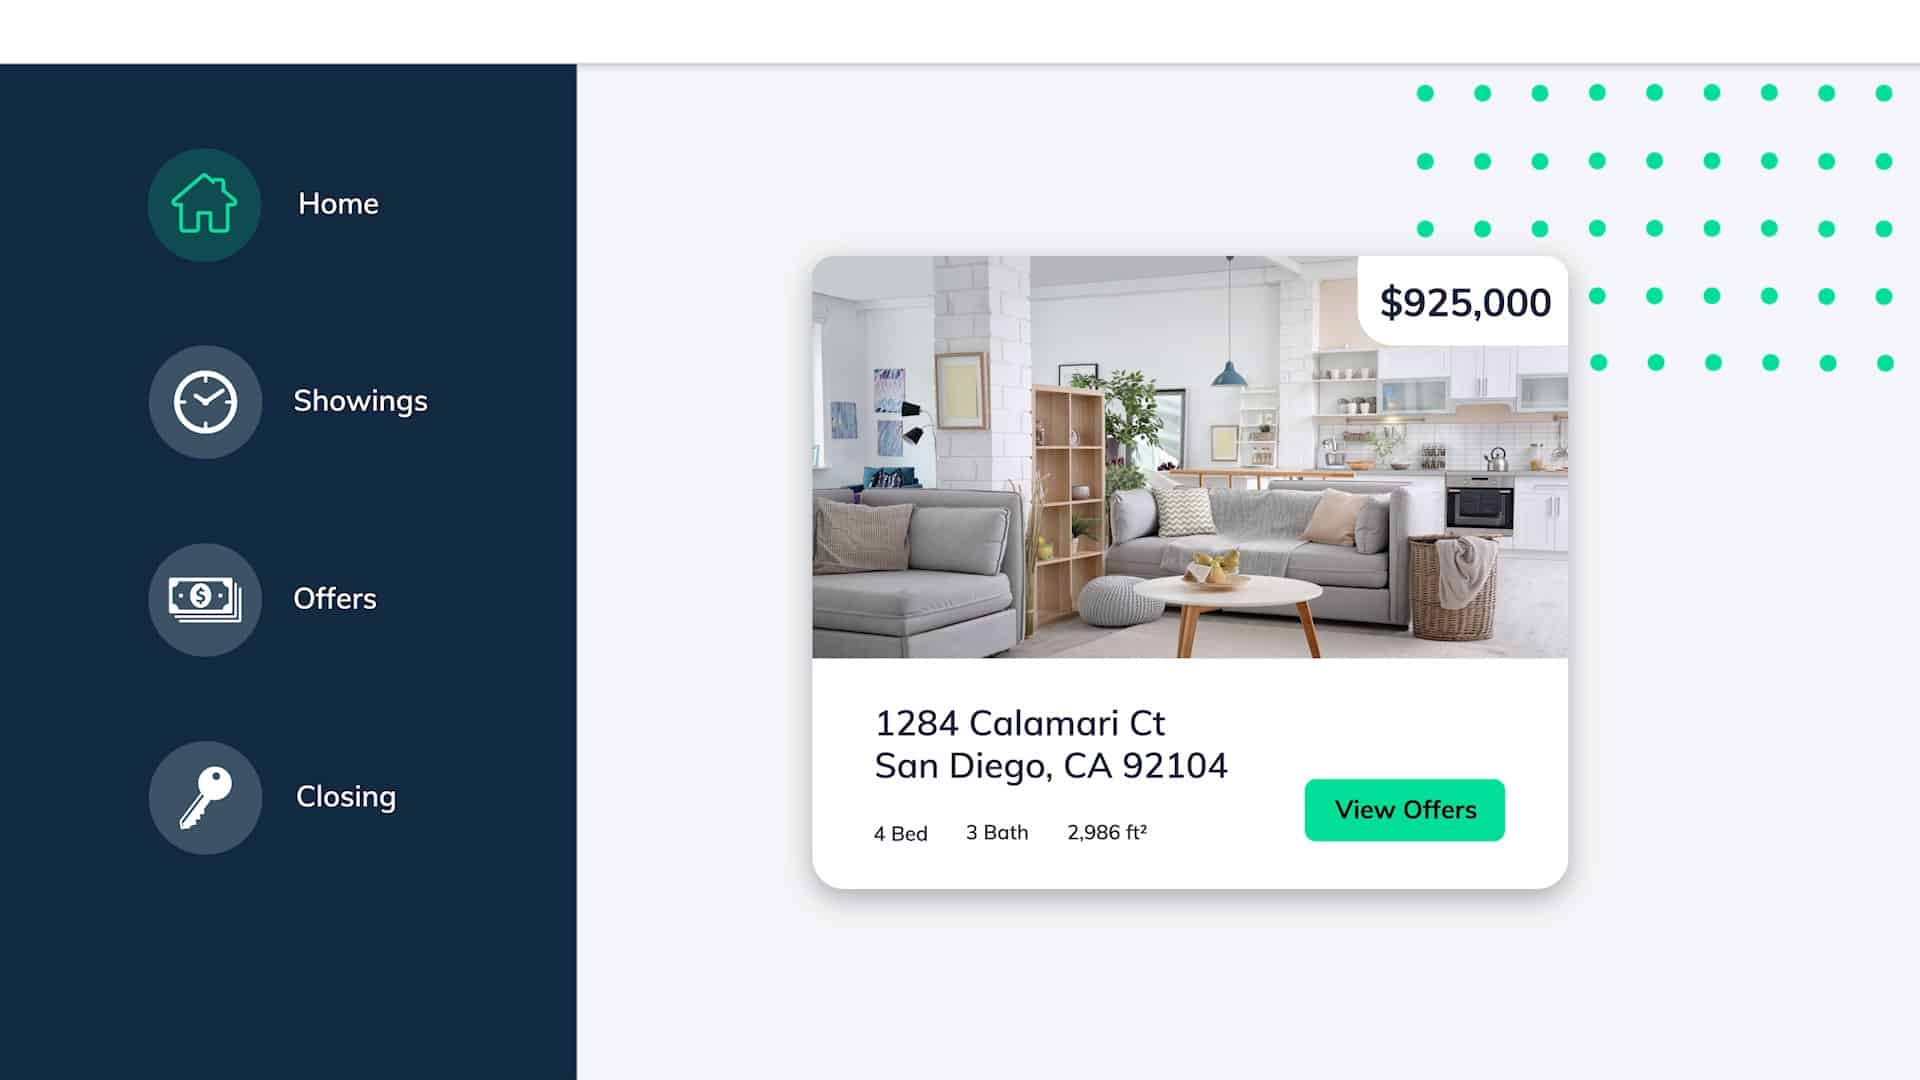
It only takes a few minutes to send an offer and you can instantly review them in your dashboard. Here you compare all of your offers and even counter any terms with just a few easy clicks.
There is nothing else like this on the market. Homepie has made it extremely easy for buyers and sellers to negotiate in real-time.
Buyers love using the free online offer and negotiation wizard that feeds directly into the contract creator, which takes us to the next step – it’s time to sign!
Step #4: Sign the FSBO Contract
You could hire a real estate lawyer to draft a contract for you or try to navigate the contract provided by a buyer’s agent.
But if you use Homepie, once you and the buyer agree on the final terms of the sale, a Purchase Agreement is automatically generated with all those agreed-upon terms included, in supported states.
Now, both parties just have to e-sign and you are officially under contract. It’s that’s simple.
Step #5: Close Escrow
Now you’re ready to close – which is the final step. This is also known as Escrow.
Escrow is a term used to describe the period of time between when a Purchase Agreement is fully executed and the sale actually closes.
In some states, this process is managed by a Closing Attorney, and in other states it is handled by an escrow company. Either way, they help facilitate the transaction by ensuring that the agreed to terms are met by both sides. They are considered the neutral third party in your transaction.
To open escrow, the escrow agent, or attorney, will need your fully signed purchase agreement. And that’s when the fun begins.
Disclosures
One of the first things you’ll need to do is complete property disclosure forms.
You’re obligated to disclose to the buyer any known material fact about the home. Basically, anything that affects the value or desirability of the property.
Home inspection
Next, the buyer will typically schedule a home inspection. This is where the buyer has a professional inspect the home to make sure the condition is acceptable.
The buyer’s home inspector will come by your house for a few hours to examine and test everything, and I mean everything. These are quite thorough and designed to inform the buyer of any current issues or issues that are likely to come up in the near future. The Inspector’s main job is to find all the things around your house that need to be repaired, and to provide the buyer with a detailed and written inspection report.
Once the buyer reviews the report they’ll have a choice to accept the condition as-is, or submit a request for you to fix certain things before the close of escrow.
It’s common for a seller to offer a monetary credit instead of actually fixing these items. This repair credit is usually deducted from your proceeds at the very end of the process.
Keep in mind, the buyer will likely want to do a final walkthrough to make sure everything is in the same condition and that any agreed upon repairs have been made.
Final loan approval & appraisal
Once you get past the inspection process, the last thing before reaching the finish line is your buyer’s final loan approval. That includes a full review of their finances and an appraisal of the home.
As part of the loan process, the lender sends an appraiser to your house to determine how much they think it’s worth. This is simply because the lender wants to minimize their risk before funding.
If everything goes well, the buyer signs the loan documents, the loan funds, the deed records, and you hand over the keys.
Consider a Transaction Guide
If managing all these moving parts of escrow seems a little daunting, the good news is just like an agent you can hire someone to coordinate everything for you.
Homepie.com offers transaction coordination services for a nominal fee (it’s totally worth it).
Selling your home by owner is now easier than ever. Homepie helps homeowners sell effectively and save massive home equity by skipping agent commission.


